> ## Documentation Index
> Fetch the complete documentation index at: https://about.sendforsign.com/llms.txt
> Use this file to discover all available pages before exploring further.
# Draft a Template
> Learn how to prepare template and create a document from it.
## Set up your account
Before using components from the React SDK, see the [First document use case](/usecase/firstdoc) to set up your
platform account and get the API key.
## Create your template
SFS provides you with two ways of creating templates: by using an API request (API way) or via our React UI (visual way).
Let's create a simple template using our React Components.
Navigate to your SFS account and proceed to the Components tab, find the Template editor component
and press the 'Live Demo' button.
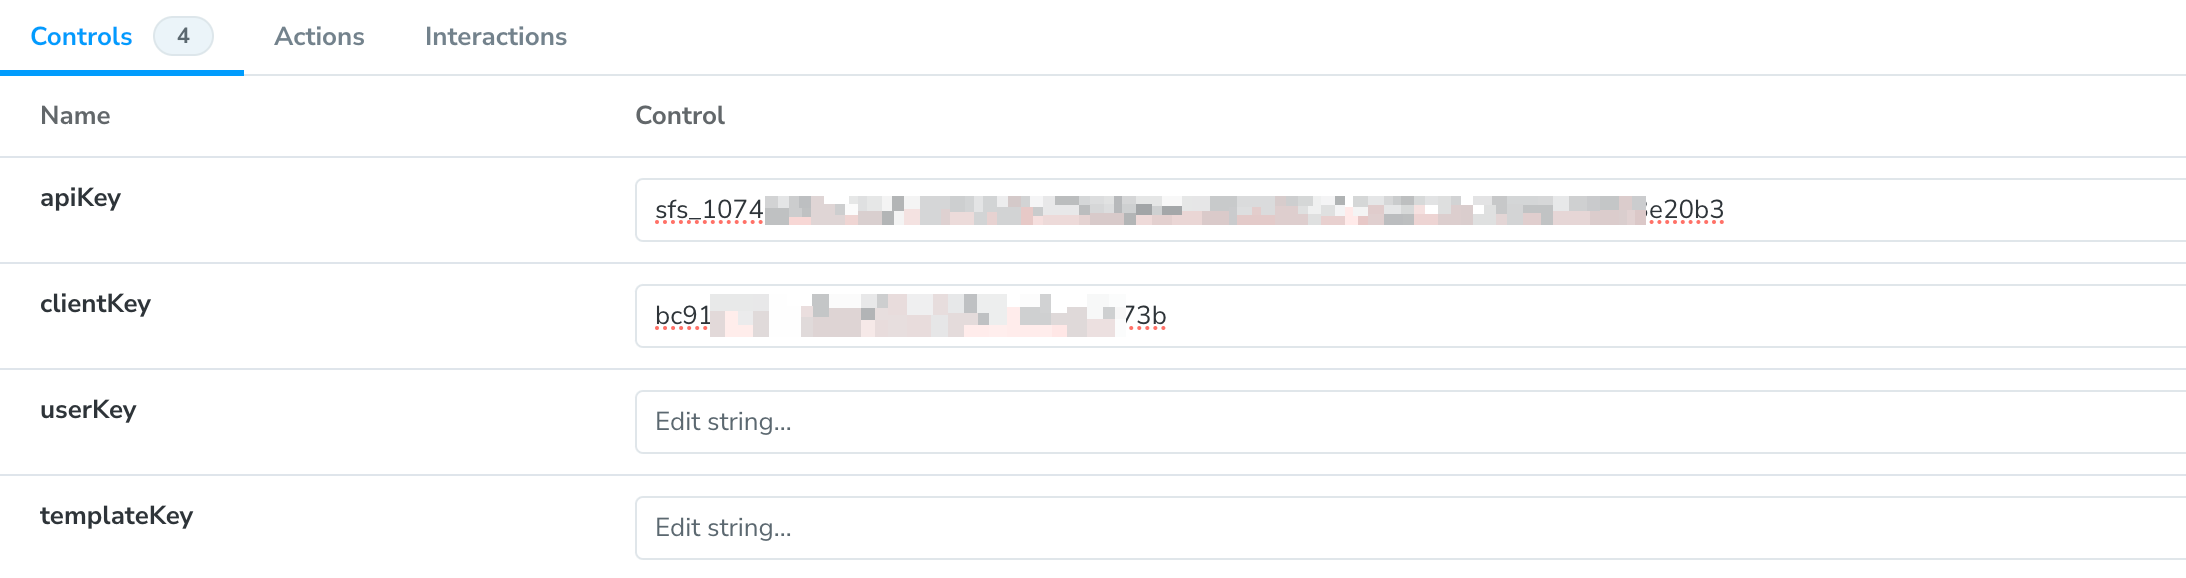
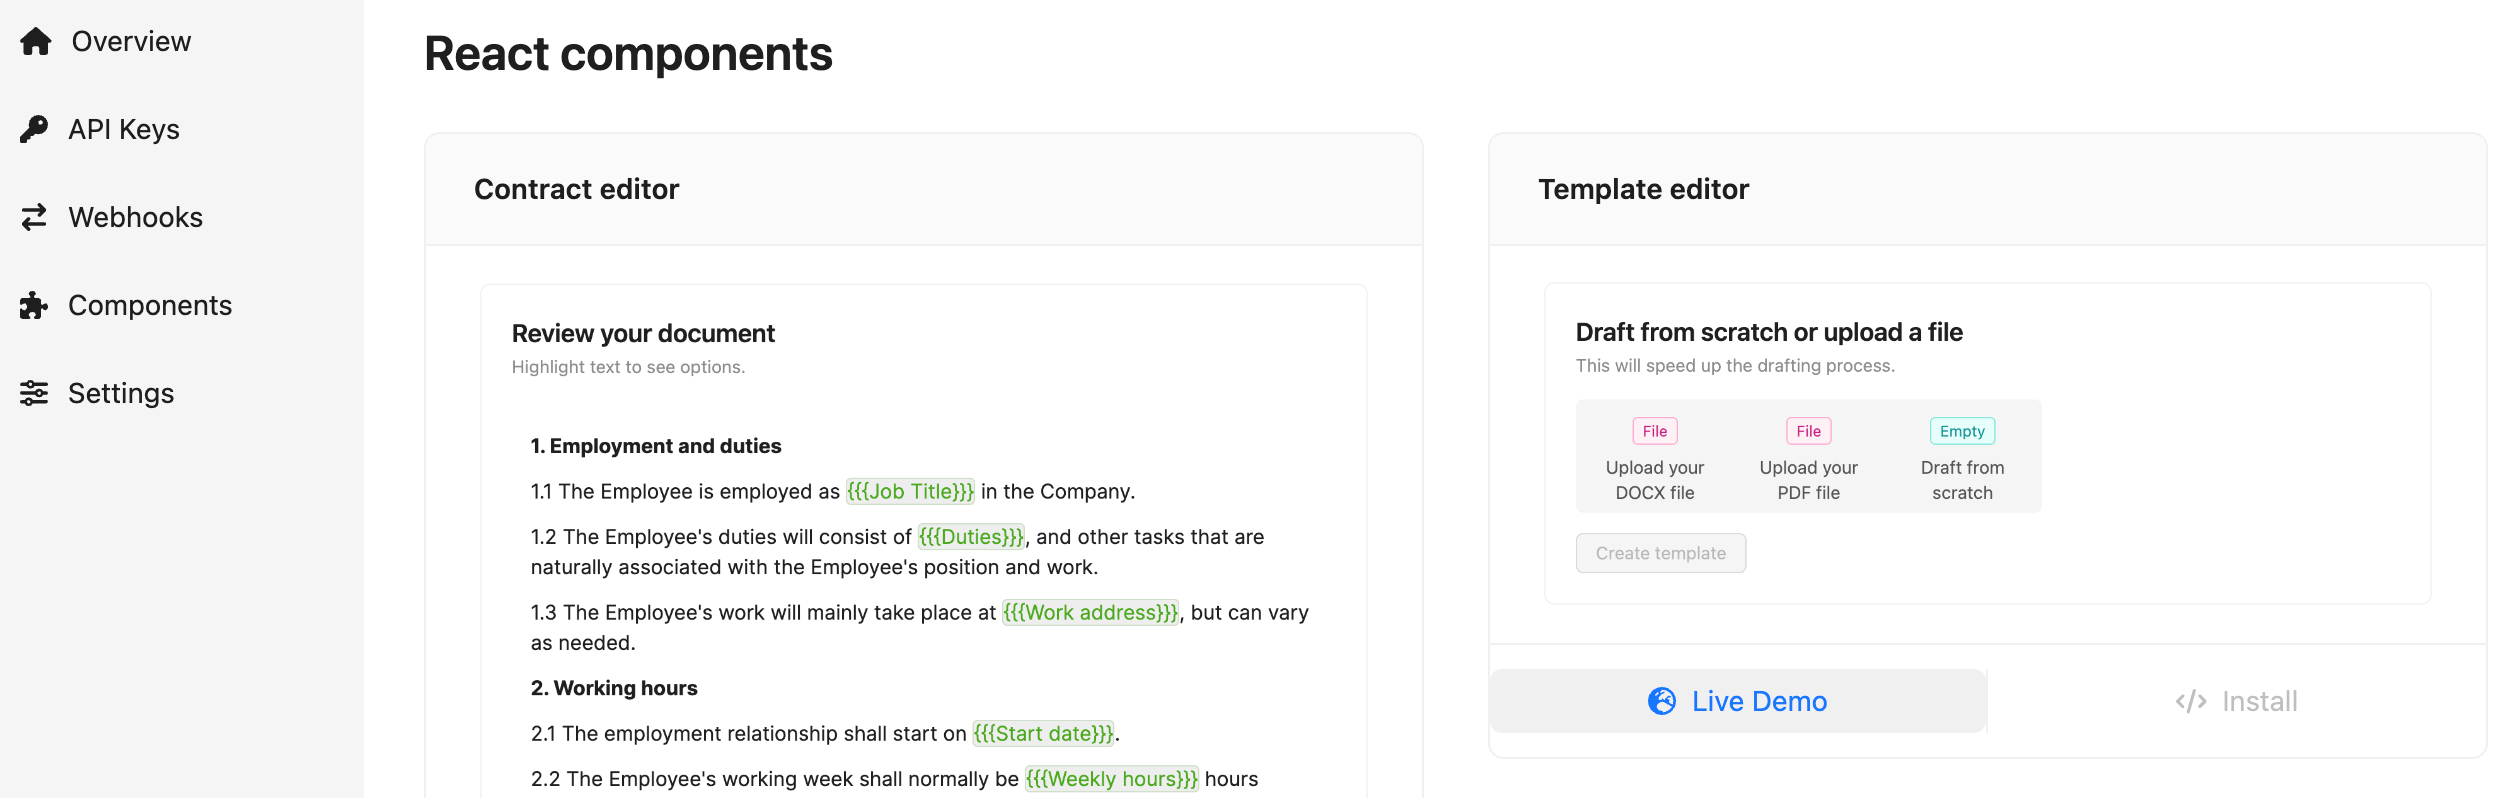 Now you're ready to draft your first template. To do this, use your API and Client keys to make the component functional.
 ## Draft your template
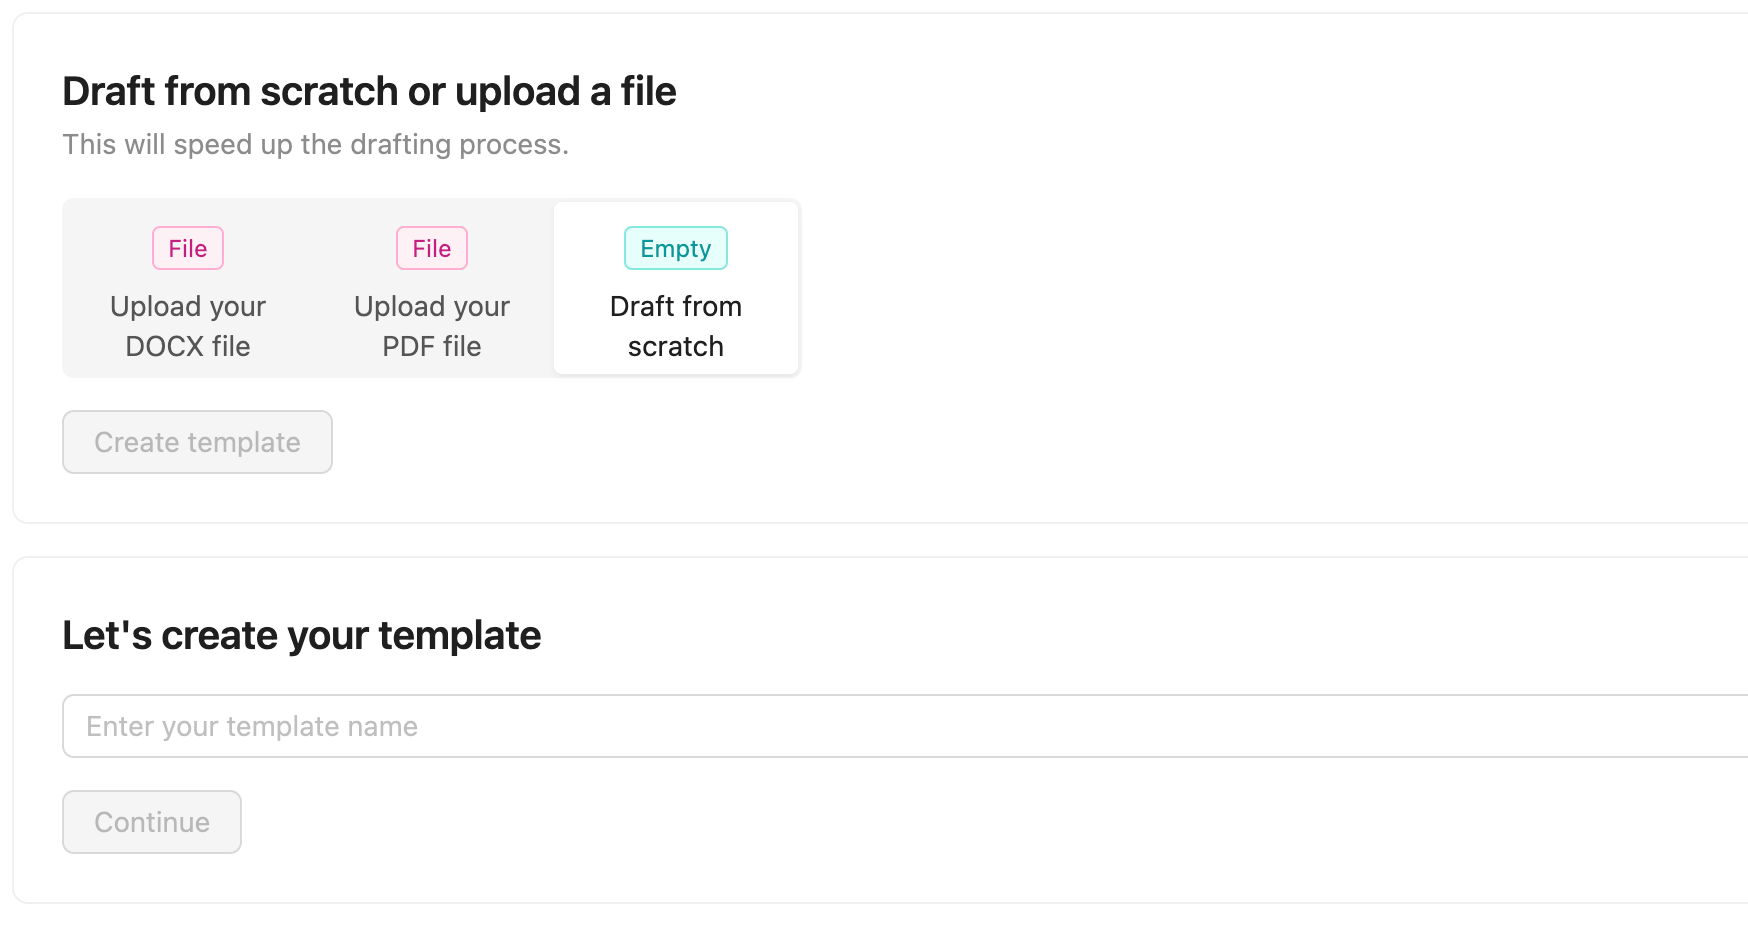
Upload a Word file, a PDF file, or create a template from scratch.
## Draft your template
Upload a Word file, a PDF file, or create a template from scratch.
 ## Add content
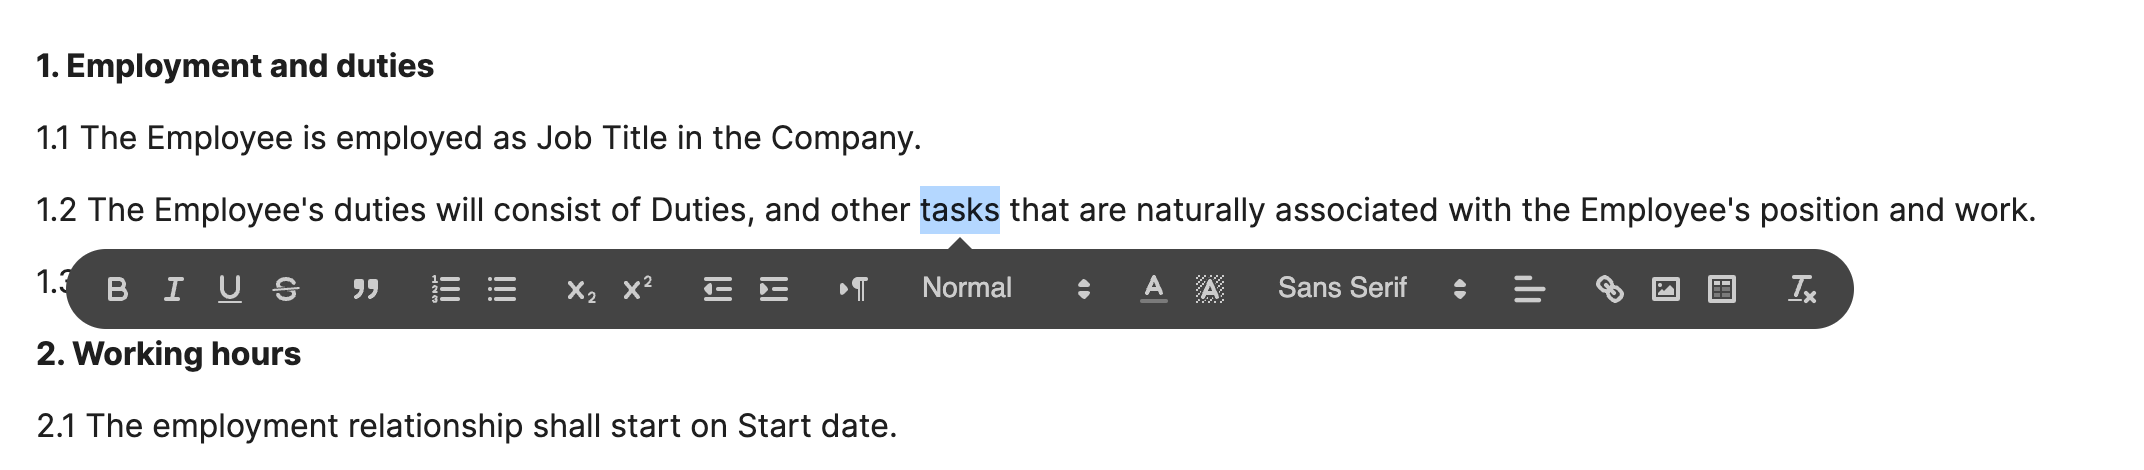
Now, add content. Highlight text to see options.
## Add content
Now, add content. Highlight text to see options.
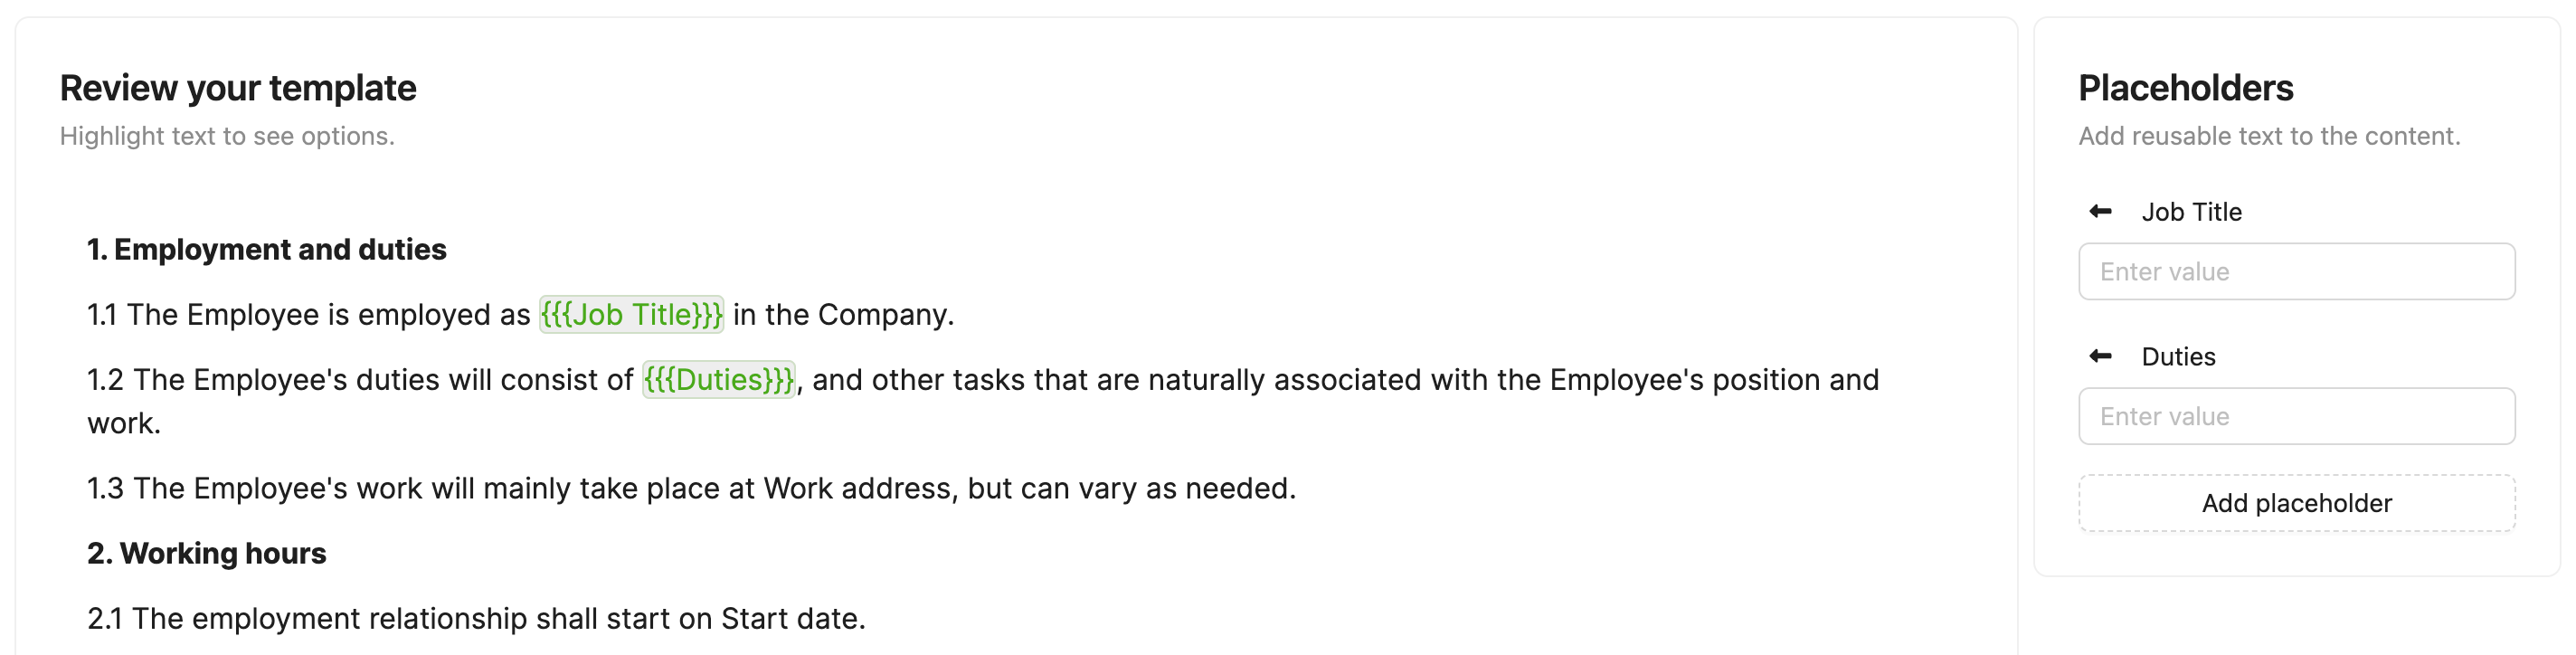
 ## Add placeholders
If you need reusable parts of text that you will be using throughout the template content,
add placeholders and paste them into the text. Your template is ready to be used!
## Add placeholders
If you need reusable parts of text that you will be using throughout the template content,
add placeholders and paste them into the text. Your template is ready to be used!
 ## Create a document from this template
Now you have the ability to create as many documents from this template as you need. When creating a
contract from a template, the content, placeholders, and recipients from the template will be
copied to the brand new contract. [Learn more here.](/api-reference/contract/create-fill)
```bash cURL theme={null}
curl -X POST 'https://api.sendforsign.com/api/contract' \
-H 'X-Sendforsign-Key: YOUR_API_KEY' \
-H 'Content-Type: application/json' \
-d '{
"data": {
"action": "create",
"clientKey": "CLIENT_KEY",
"contract": {
"name": "New contract",
"templateKey": "TEMPLATE_KEY"
},
"placeholders": [
{
"placeholderKey": "PLACEHOLDER_KEY",
"value": "Placeholder value"
},
{
"name": "Placeholder name",
"value": "Placeholder value"
}
]
}
}'
```
Take a look at the placeholders array. By using this, you can immediately fill in the placeholders,
so the contract will have all the necessary data in the locations specified by you. To do this, you simply
need to provide the call with the placeholder key from the template. This way, the system will identify this
placeholder and fill it with the value you need.
## Create a document from this template
Now you have the ability to create as many documents from this template as you need. When creating a
contract from a template, the content, placeholders, and recipients from the template will be
copied to the brand new contract. [Learn more here.](/api-reference/contract/create-fill)
```bash cURL theme={null}
curl -X POST 'https://api.sendforsign.com/api/contract' \
-H 'X-Sendforsign-Key: YOUR_API_KEY' \
-H 'Content-Type: application/json' \
-d '{
"data": {
"action": "create",
"clientKey": "CLIENT_KEY",
"contract": {
"name": "New contract",
"templateKey": "TEMPLATE_KEY"
},
"placeholders": [
{
"placeholderKey": "PLACEHOLDER_KEY",
"value": "Placeholder value"
},
{
"name": "Placeholder name",
"value": "Placeholder value"
}
]
}
}'
```
Take a look at the placeholders array. By using this, you can immediately fill in the placeholders,
so the contract will have all the necessary data in the locations specified by you. To do this, you simply
need to provide the call with the placeholder key from the template. This way, the system will identify this
placeholder and fill it with the value you need.