The Concept
When you add recipients to the documents created in Sendforsign, each recipient receives their personalized public sharing links, through which they can access the documents. Typically, the links look like this:https://app.sendforsign.com/sharing/8269-4d32-4716-86d3-159a9cad.
However, in some cases, you might want to change the branding of this link and replace the sendforsign.com domain
with your own domain, so the links for your customers will look like this:
https://yourdomain.com/sharing/8269-4d32-4716-86d3-159a9cad.
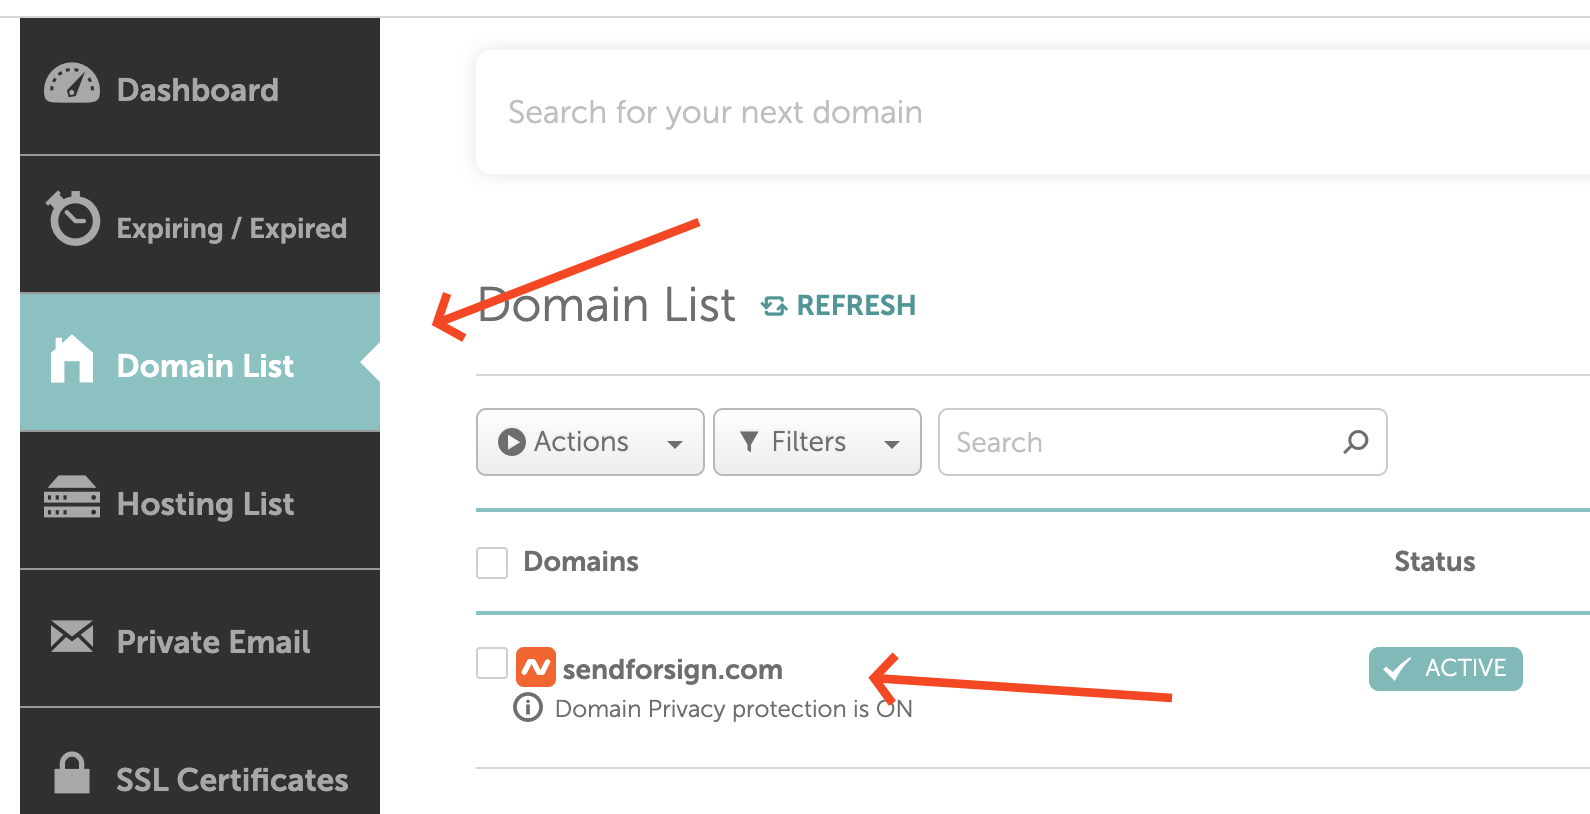
Go to your domain provider dashboard
To enable your own domain, you will need access to your domain name provider (GoDaddy, Namecheap, or any other provider you use). Please contact your web administrator to get an overview of how to access your domain name dashboard. Below, we will provide an overview of this process based on the Namecheap account; contact your web administrator to go through the process on any other provider.- Once you get into your dashboard, you need to find your domain list.

- Go to the domain page, and navigate to the DNS settings of this specific domain.

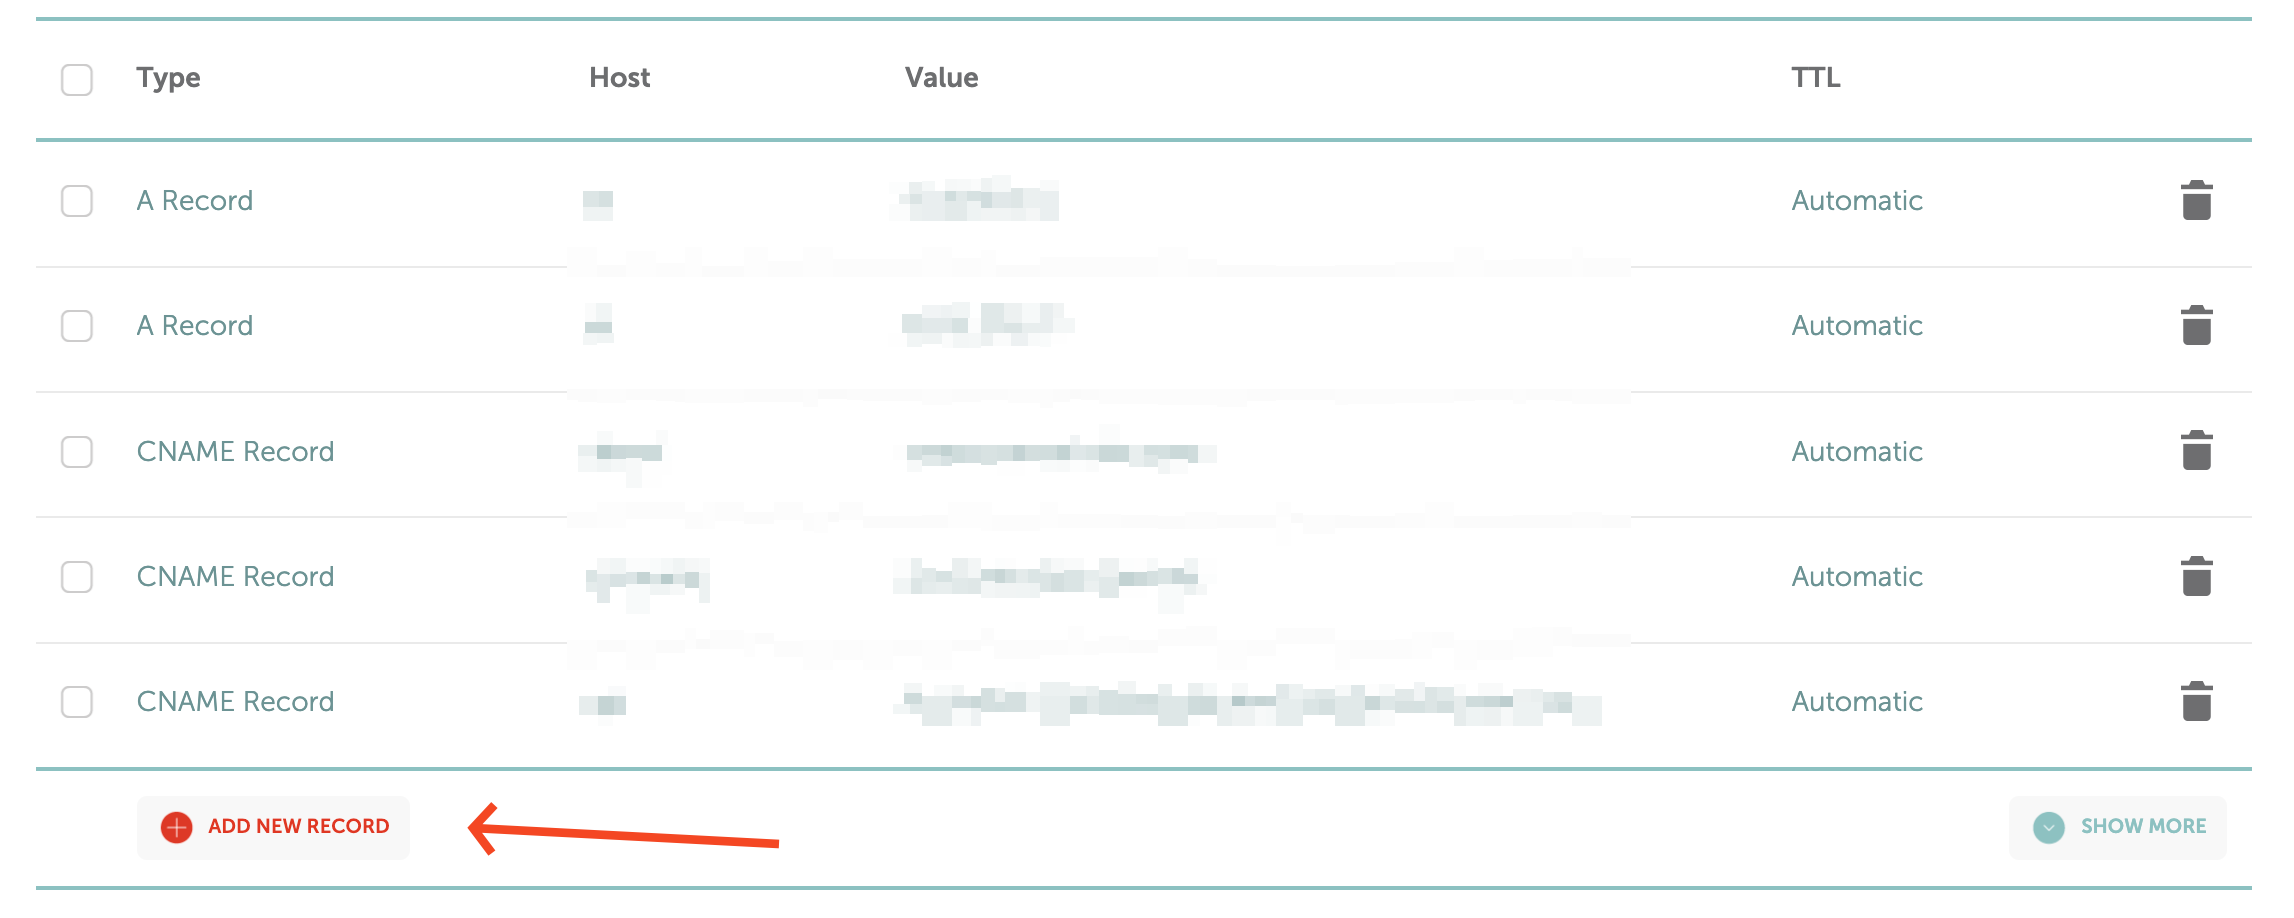
Create a new CNAME record
Now it’s time to add a new CNAME record to your DNS settings. We always recommend using a subdomain for these purposes, such asdocument.yourdomain.com or contract.yourdomain.com.
Let’s create a new CNAME record for a document. subdomain.
- Press
ADD NEW RECORD.

- Select:
- Type: CNAME
- Host: document
- Value or Target: paste the value you receive from the Sendforsign team
- TTL: Automatic

document.yourdomain.com + sharing + recipientKey.
Example: https://document.yourdomain.com/sharing/8269-4d32-4716-86d3-159a9cad.